Why do so many ambitious home renovations falter at the threshold of a bay window, resulting in a cluttered ‘dead zone’ or a flimsy bench that feels disconnected from the room? Often, the primary failure lies in treating the project as a furniture addition rather than a structural integration. Learning how to build a bay window seat isn’t just about cutting plywood; it is about mastering the architectural logic of load-bearing substructures and seamless transitions. When done correctly, this feature doesn’t just sit in the room—it becomes the room, anchoring the visual weight of the space while offering a tactile sanctuary for quiet reflection.
The secret to a high-end, designer-level installation lies in the invisible engineering. Most DIYers make the mistake of building a simple box and sliding it into the alcove, leaving awkward gaps and visible seams. Instead, we must look at the structural bones: the wall cleats, the framing logic of a 2×4 skeleton, and the precision of 135-degree mitered corners. This architectural approach ensures that the finished seat feels like a permanent, foundational element of your home’s footprint, perfectly flush with existing baseboards and windowsills.
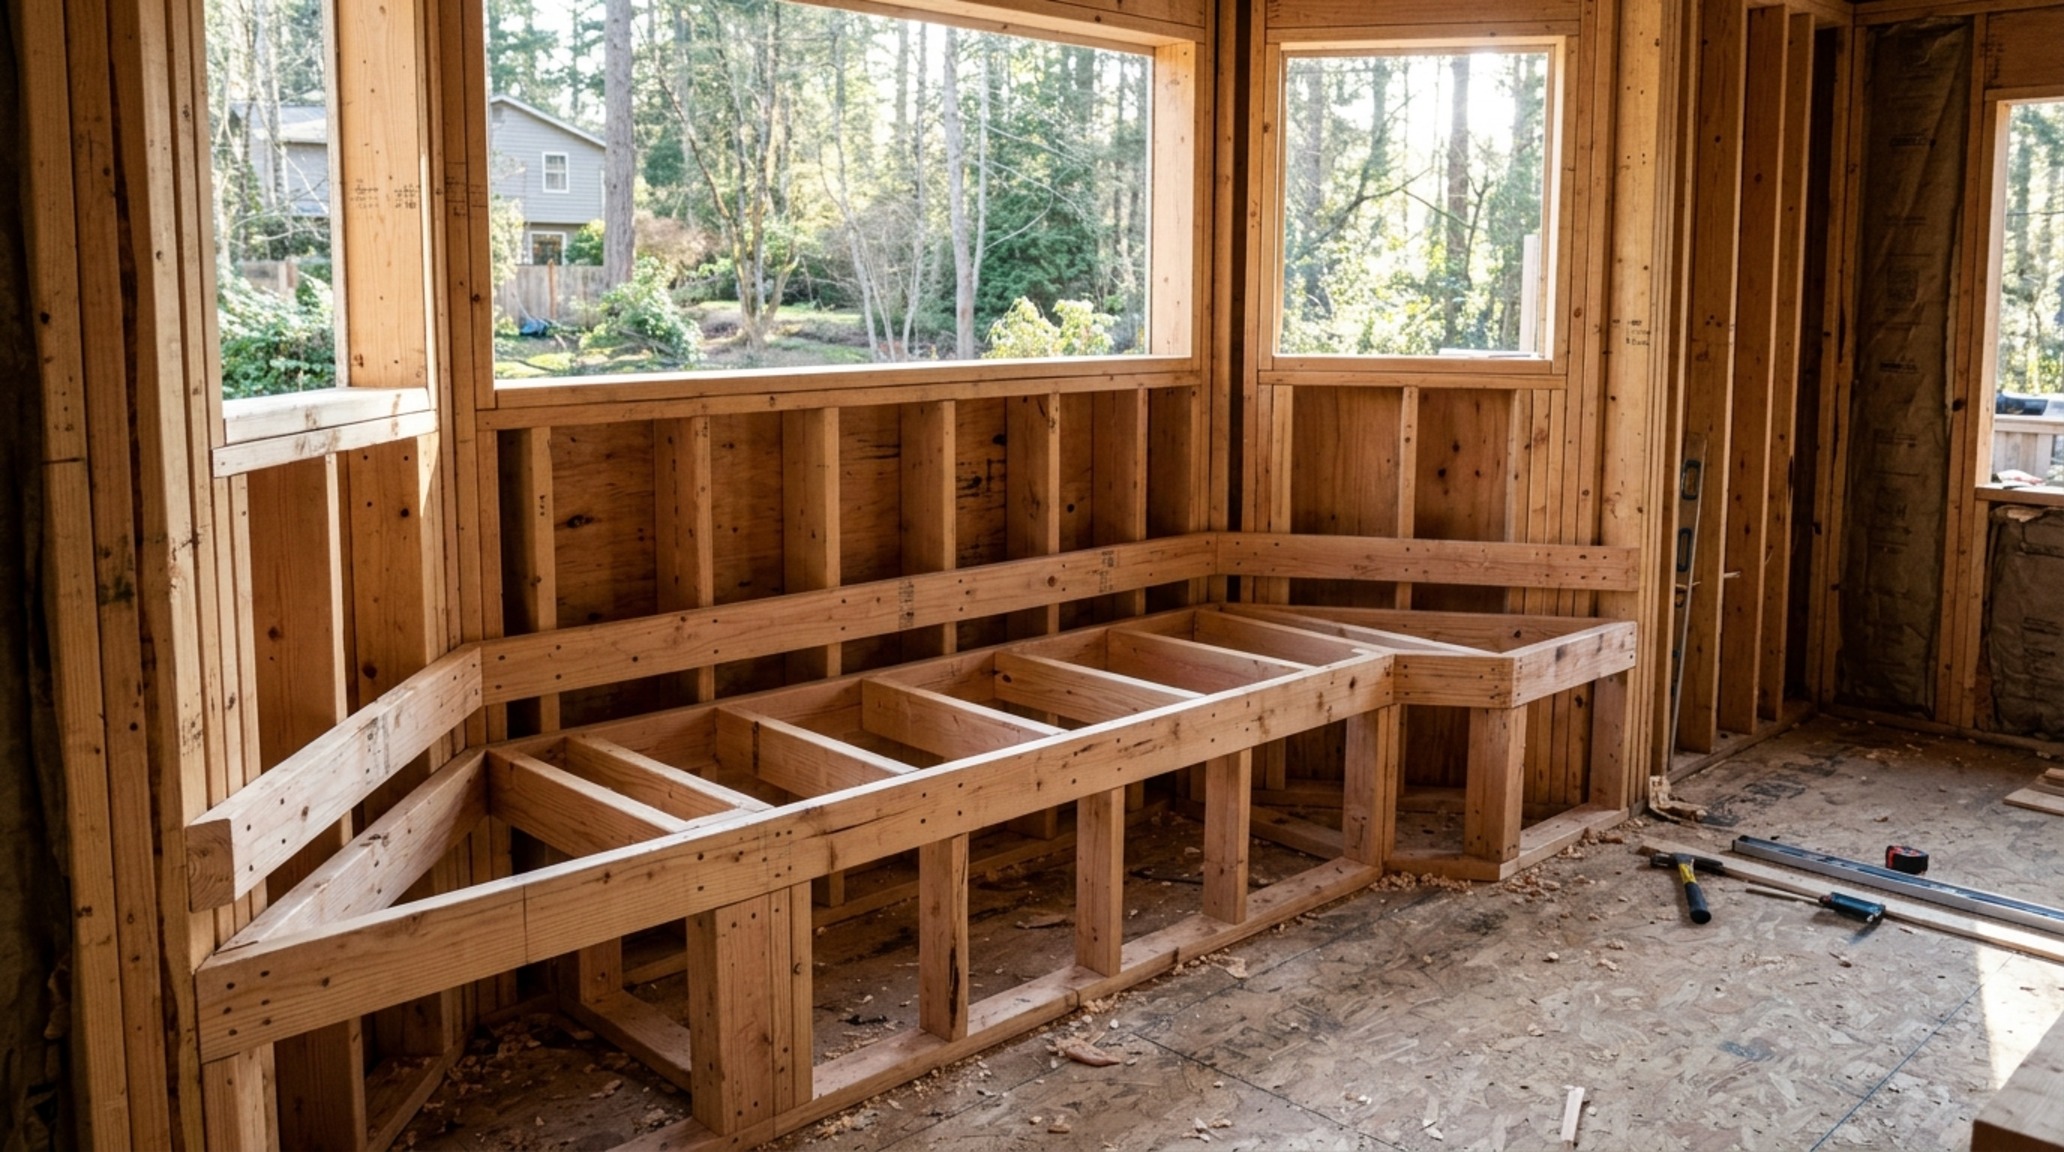
Custom Window Bench Framing: The Structural Substructure
Before we touch the finish materials, we must address the physics of the alcove. A bay window is essentially a cantilevered or projected space that often lacks the floor joist support found in the main room. To ensure safety and longevity, your framing must distribute weight across both the floor and the wall studs. This is where the 2×4 substructure comes into play. We aren’t just building a frame; we are creating a rigid ‘torsion box’ that resists warping and deflection over time.
Start by installing heavy-duty wall cleats—horizontal 2x4s screwed directly into the wall studs using 3-inch ledger screws. These cleats establish the height of your seat, typically 15 inches from the floor (to allow for a 3-inch cushion, bringing the total height to a standard 18 inches). The magic happens in the 135-degree angles. Standard bay windows are composed of three panels: a large center pane and two flanking panes at 45-degree angles from the main wall. Calculating these miters requires precision. You aren’t just joining boards; you are aligning the grain and the structural support so that the load transitions smoothly around the bend.
DIY Window Seat Plans: Mastering the 135-Degree Miter
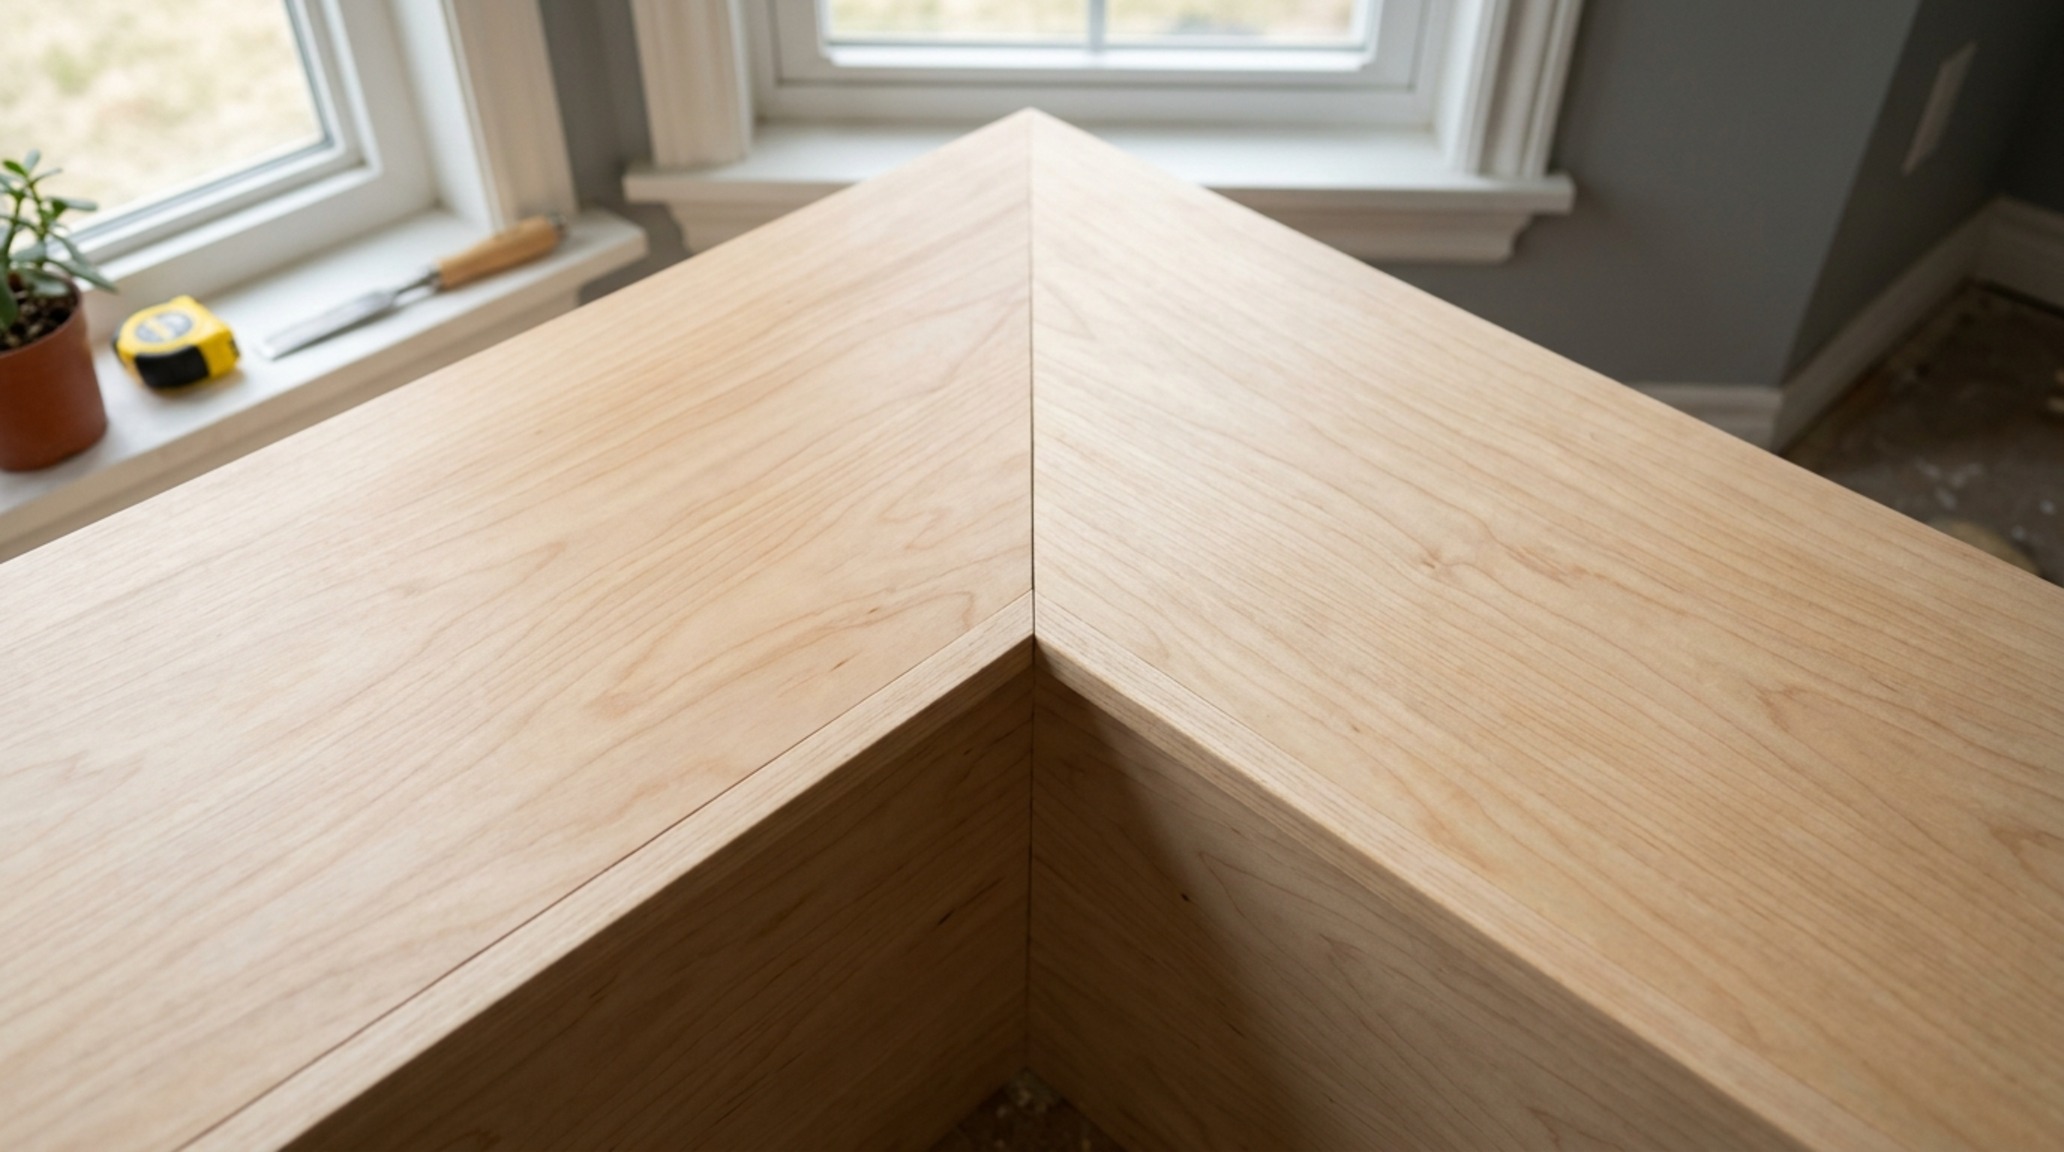
Precision is the hallmark of luxury. When executing DIY window seat plans, the most daunting hurdle is often the geometry of the bay itself. To achieve a flush, professional look, your top seat panel and your front face frame must be mitered to exactly 67.5 degrees (half of 135) where they meet. This ensures the joint is tight and requires minimal wood filler, which is essential if you plan to use a natural wood finish like fluted white oak or walnut.
“True architectural integration occurs when the transition between the built-in and the existing wall is invisible. The shadow lines should be intentional, and the joints should be surgical.” — Architectural Detail Monthly
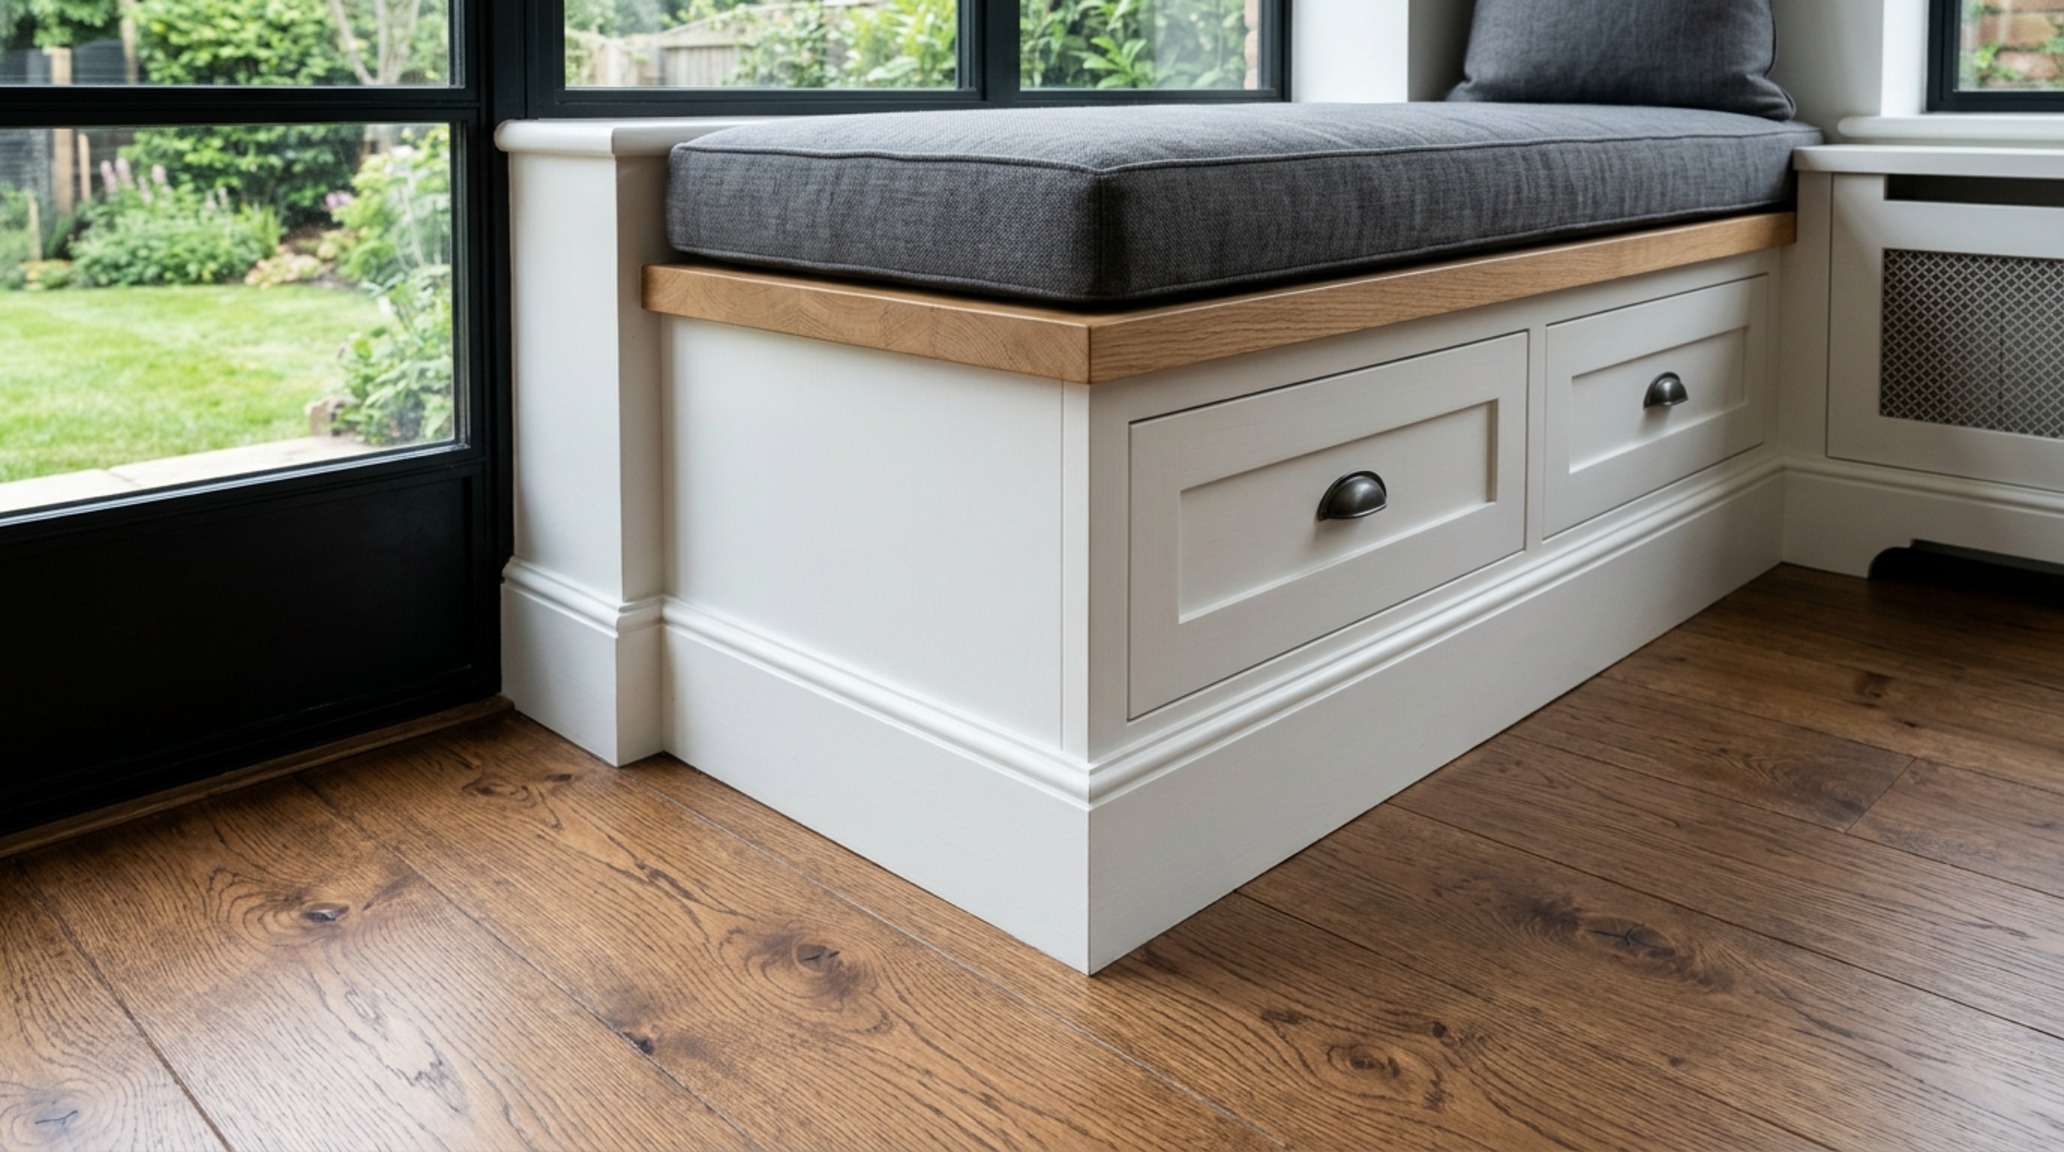
When framing the front of the seat, remember to incorporate a ‘toe kick’—a 3-inch recess at the bottom. This allows the sitter’s heels to tuck back naturally, preventing the awkward ergonomics of a flat-front box. It also provides a logical transition point for your baseboard to wrap around the unit, tying the new construction into the existing room’s molding profile. If you are using Benjamin Moore Swiss Coffee for the trim, ensure your seat’s face frame is primed and sanded to a level 5 finish to match the texture of the surrounding walls.
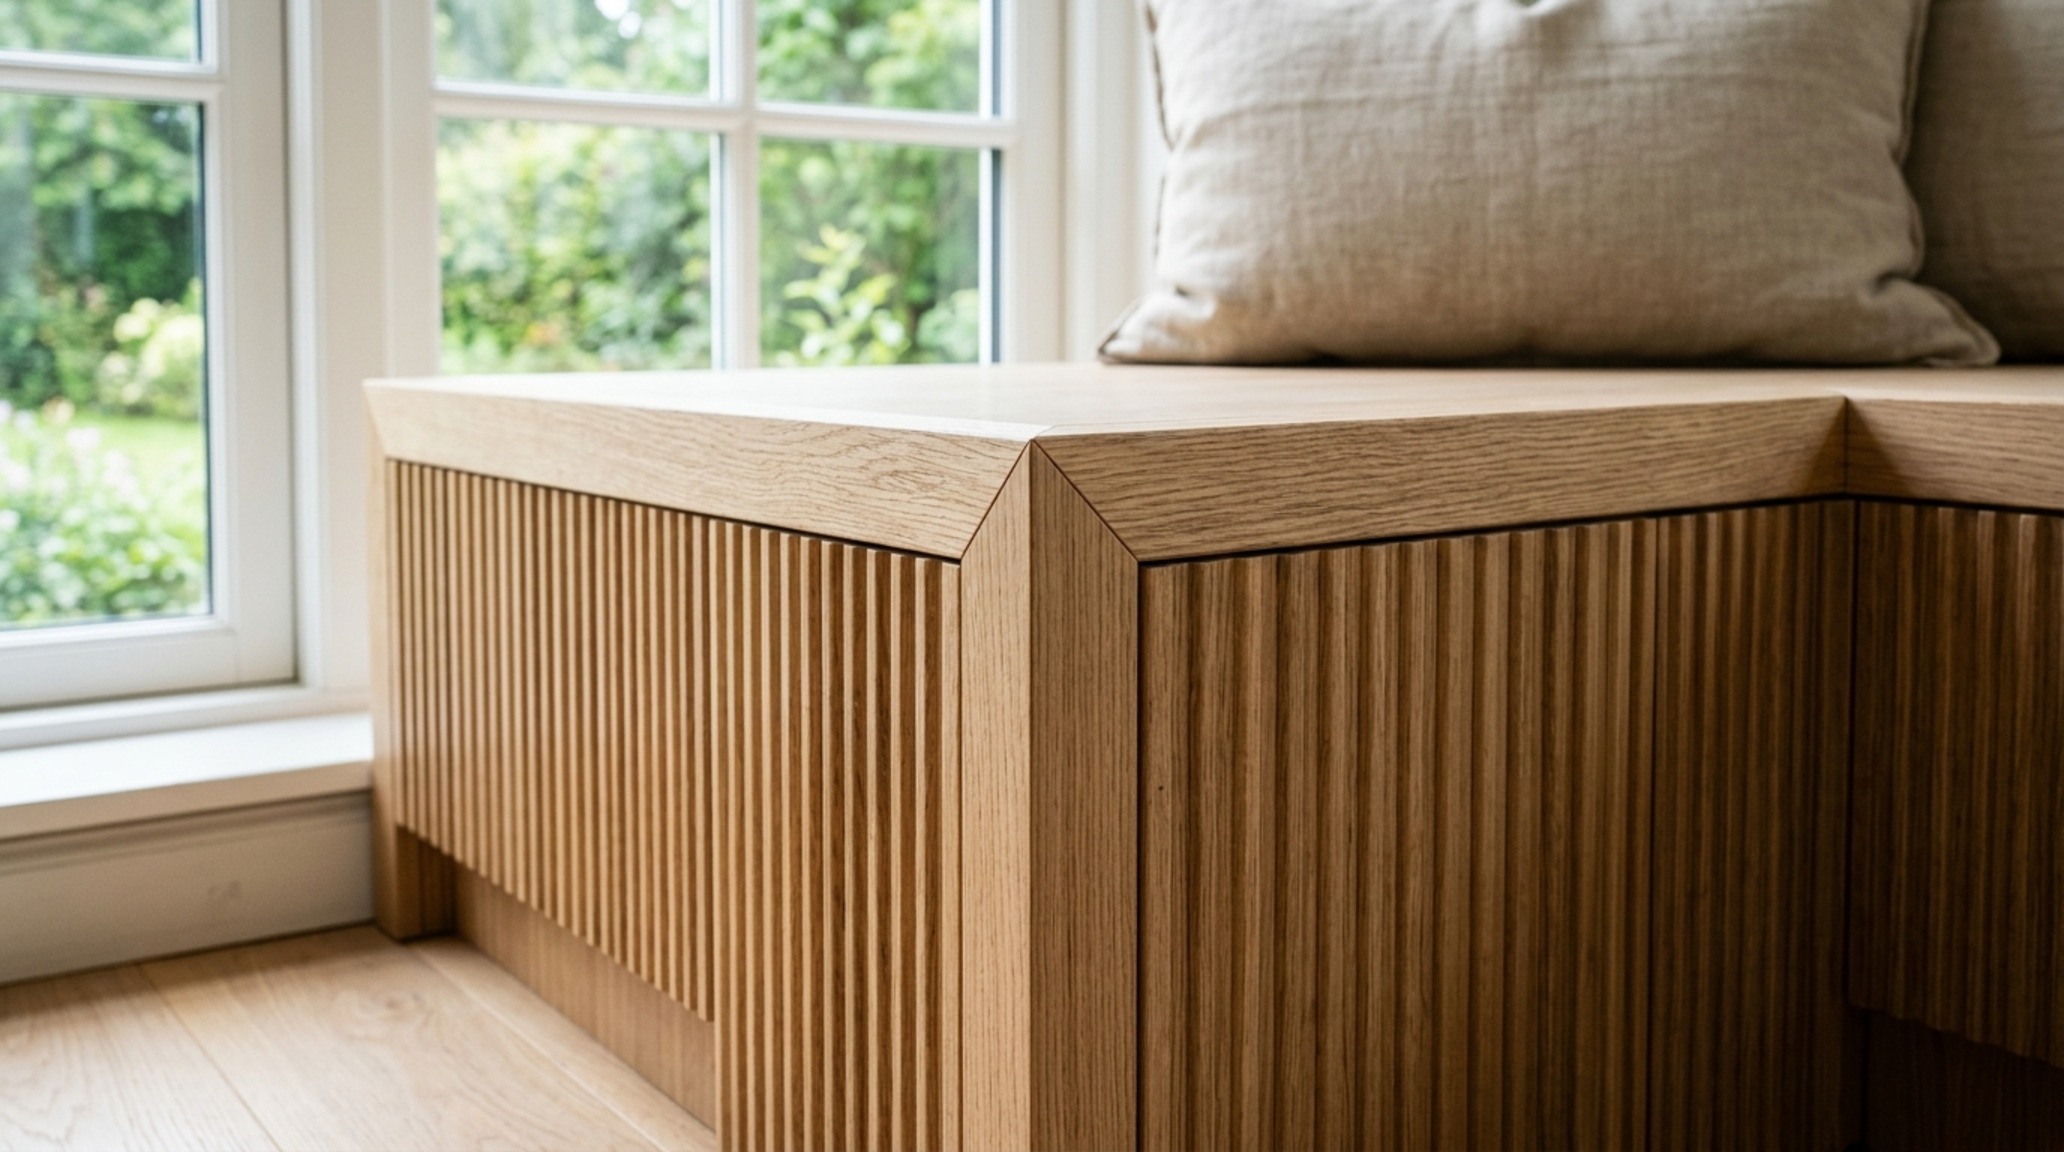
Under-seat Storage Solutions: Hidden Utility & Cabinetry
A bay window seat is a prime opportunity for spatial efficiency. Implementing under-seat storage solutions transforms a static feature into a hard-working architectural tool. There are two primary schools of thought here: the flip-top lid and the deep-drawer pull-out. While the flip-top is easier to construct, the deep drawer is the hallmark of a bespoke interior. Drawers allow access to storage without requiring the removal of heavy cushions—a common friction point that leads to unused storage space.
If you opt for drawers, utilize heavy-duty, full-extension undermount slides. This allows the drawer to support the weight of heavy blankets or seasonal decor while maintaining a clean aesthetic with no visible hardware. For the drawer fronts, consider a minimalist ‘slab’ style or a delicate ‘shaker’ profile to match your kitchen or living room cabinetry. Integrating these elements requires a 3/4-inch plywood carcass reinforced with solid wood edge banding. This ensures that the ‘box’ of the seat remains perfectly square, even as the house shifts with the seasons.
The Do’s and Don’ts of Bay Window Design
Do: Prioritize Thermal Comfort & Airflow
One of the most frequent oversights is covering a floor vent with the window seat. If your bay window has a heat register on the floor, you must build a ‘vent toe-kick’ or a duct extension to bring that airflow out to the front of the bench. Neglecting this will not only make the seat uncomfortably cold in winter but can also trap moisture behind the framing, leading to mold issues within the wall cavity.
Don’t: Ignore the Window Sill Height
Your seat should never sit higher than the bottom of the window casing. Ideally, there should be a 1-to-2-inch gap between the top of the seat cushion and the window sill. This ‘negative space breathing room’ prevents the seat from feeling cramped and allows the window treatments—whether they are Roman shades in a heavy Belgian linen or soft sheer drapes—to hang naturally without bunching against the bench.
Do: Integrate Task Lighting & Power
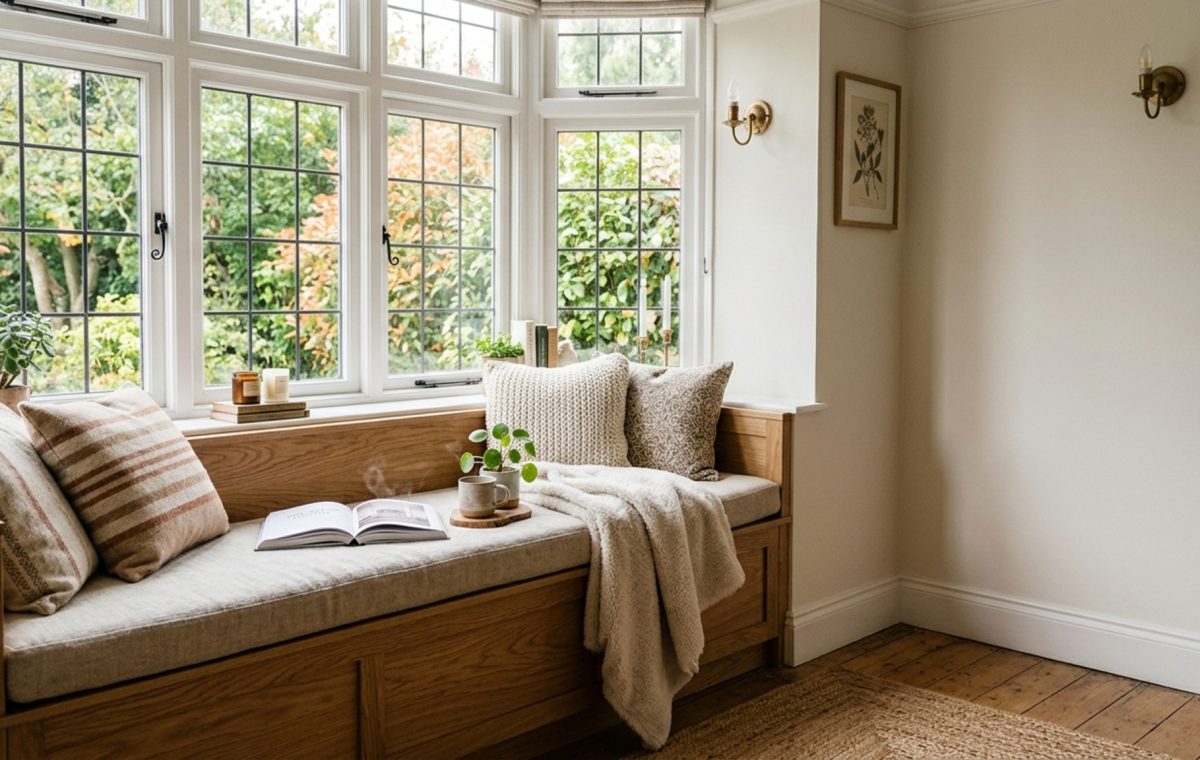
In 2024, a reading nook is incomplete without power. Install a recessed outlet within the toe kick or hidden inside a storage cubby. For lighting, aim for a 2700K warm ambient glow. A pair of articulated brass sconces mounted on the flanking walls of the bay window provides perfect task lighting for reading while adding a sophisticated ‘sightline alignment’ that draws the eye into the nook.

Spatial Perspectives & Material Curation
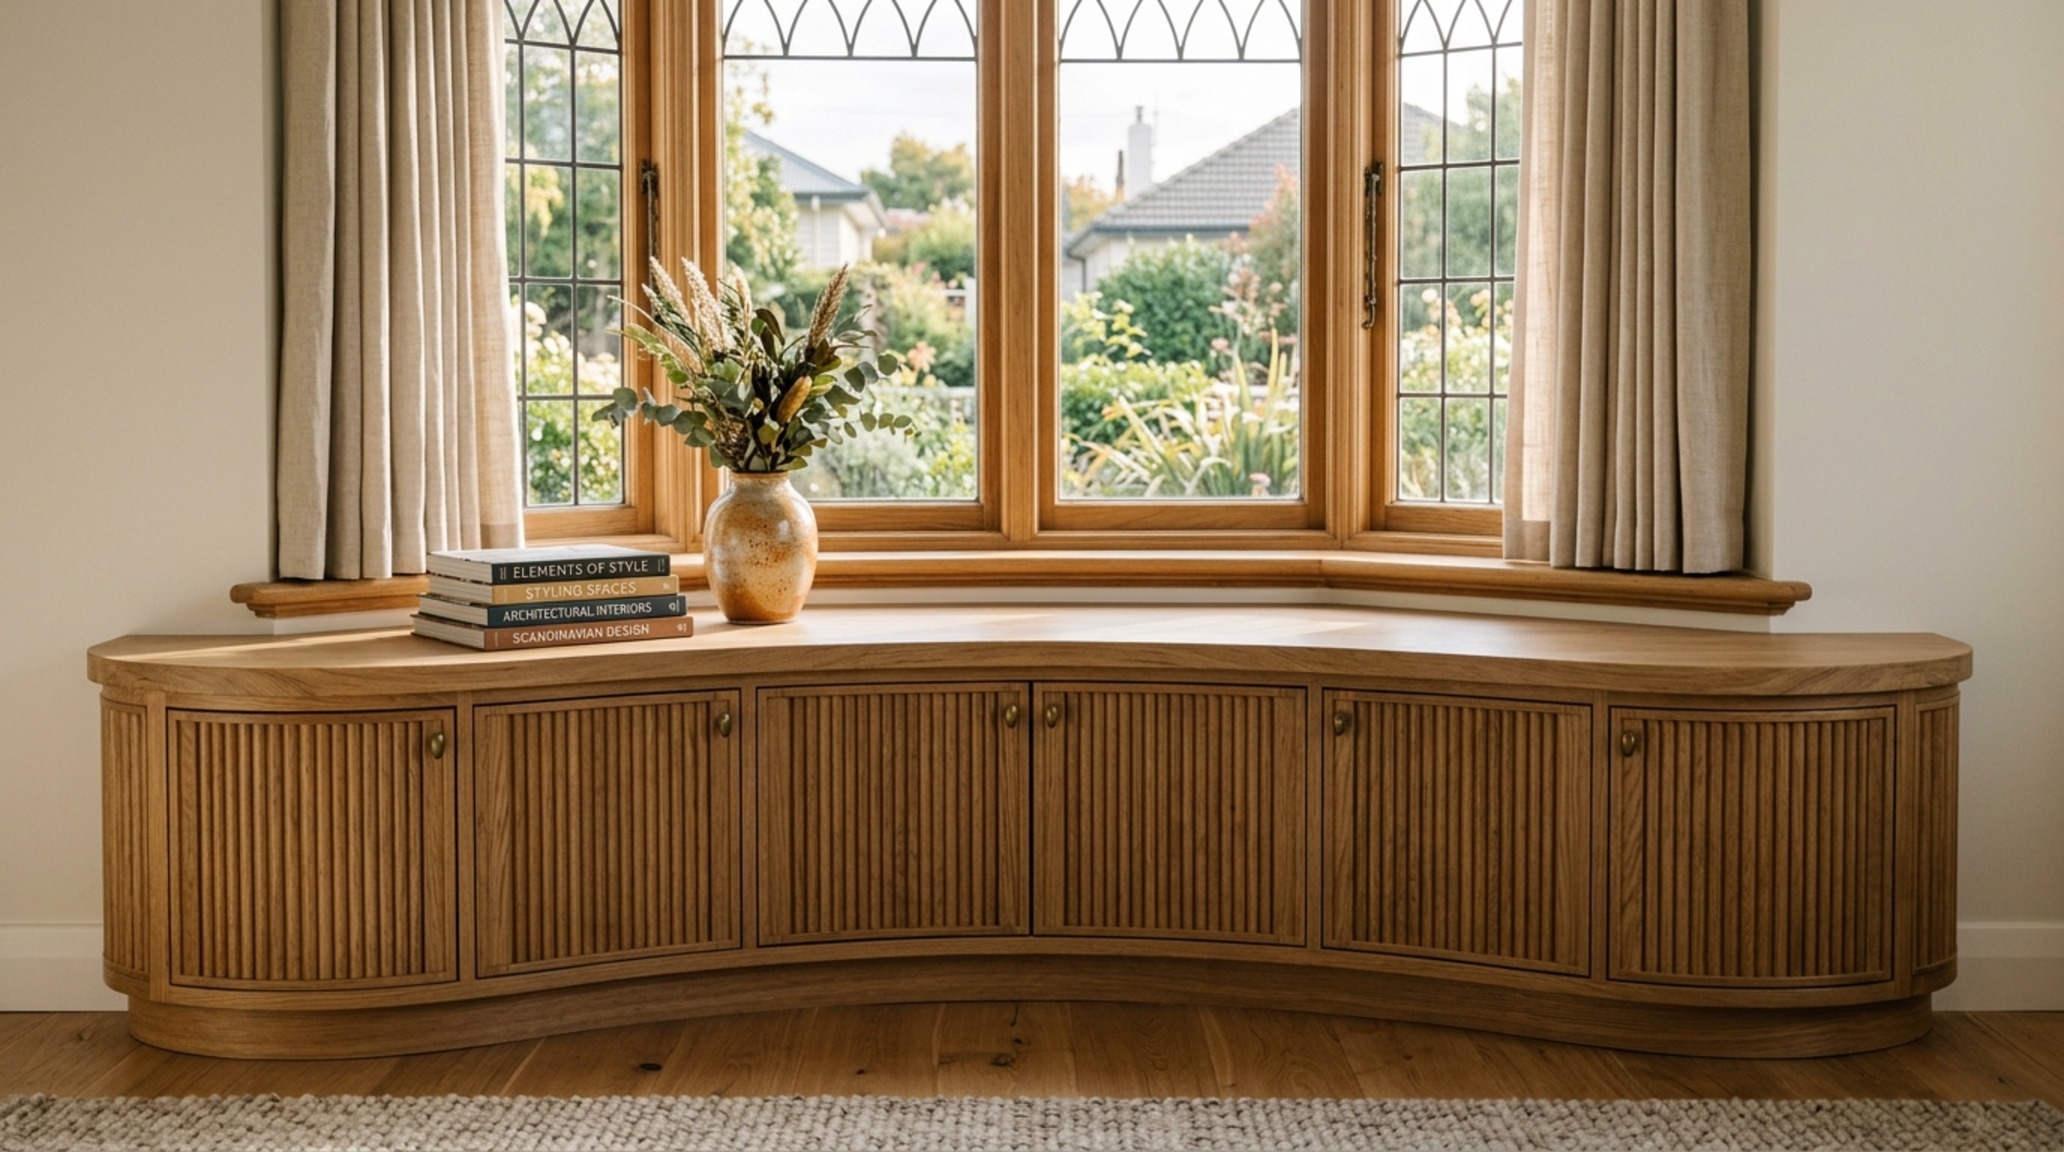
The materiality of your window seat dictates the mood of the entire room. For a tactile, grounding experience, consider wrapping the base in fluted wood panels. This adds a rhythmic shadow play that evolves throughout the day as natural sunlight moves across the alcove. Contrast this with a soft, matte paint finish on the window trim, such as Farrow & Ball Setting Plaster, to create a monochromatic, cocoon-like environment.
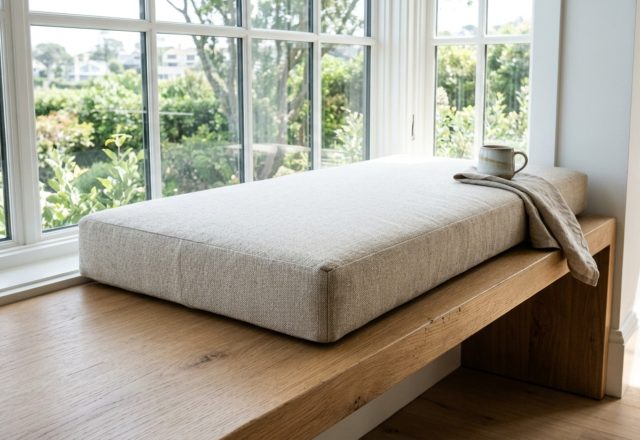
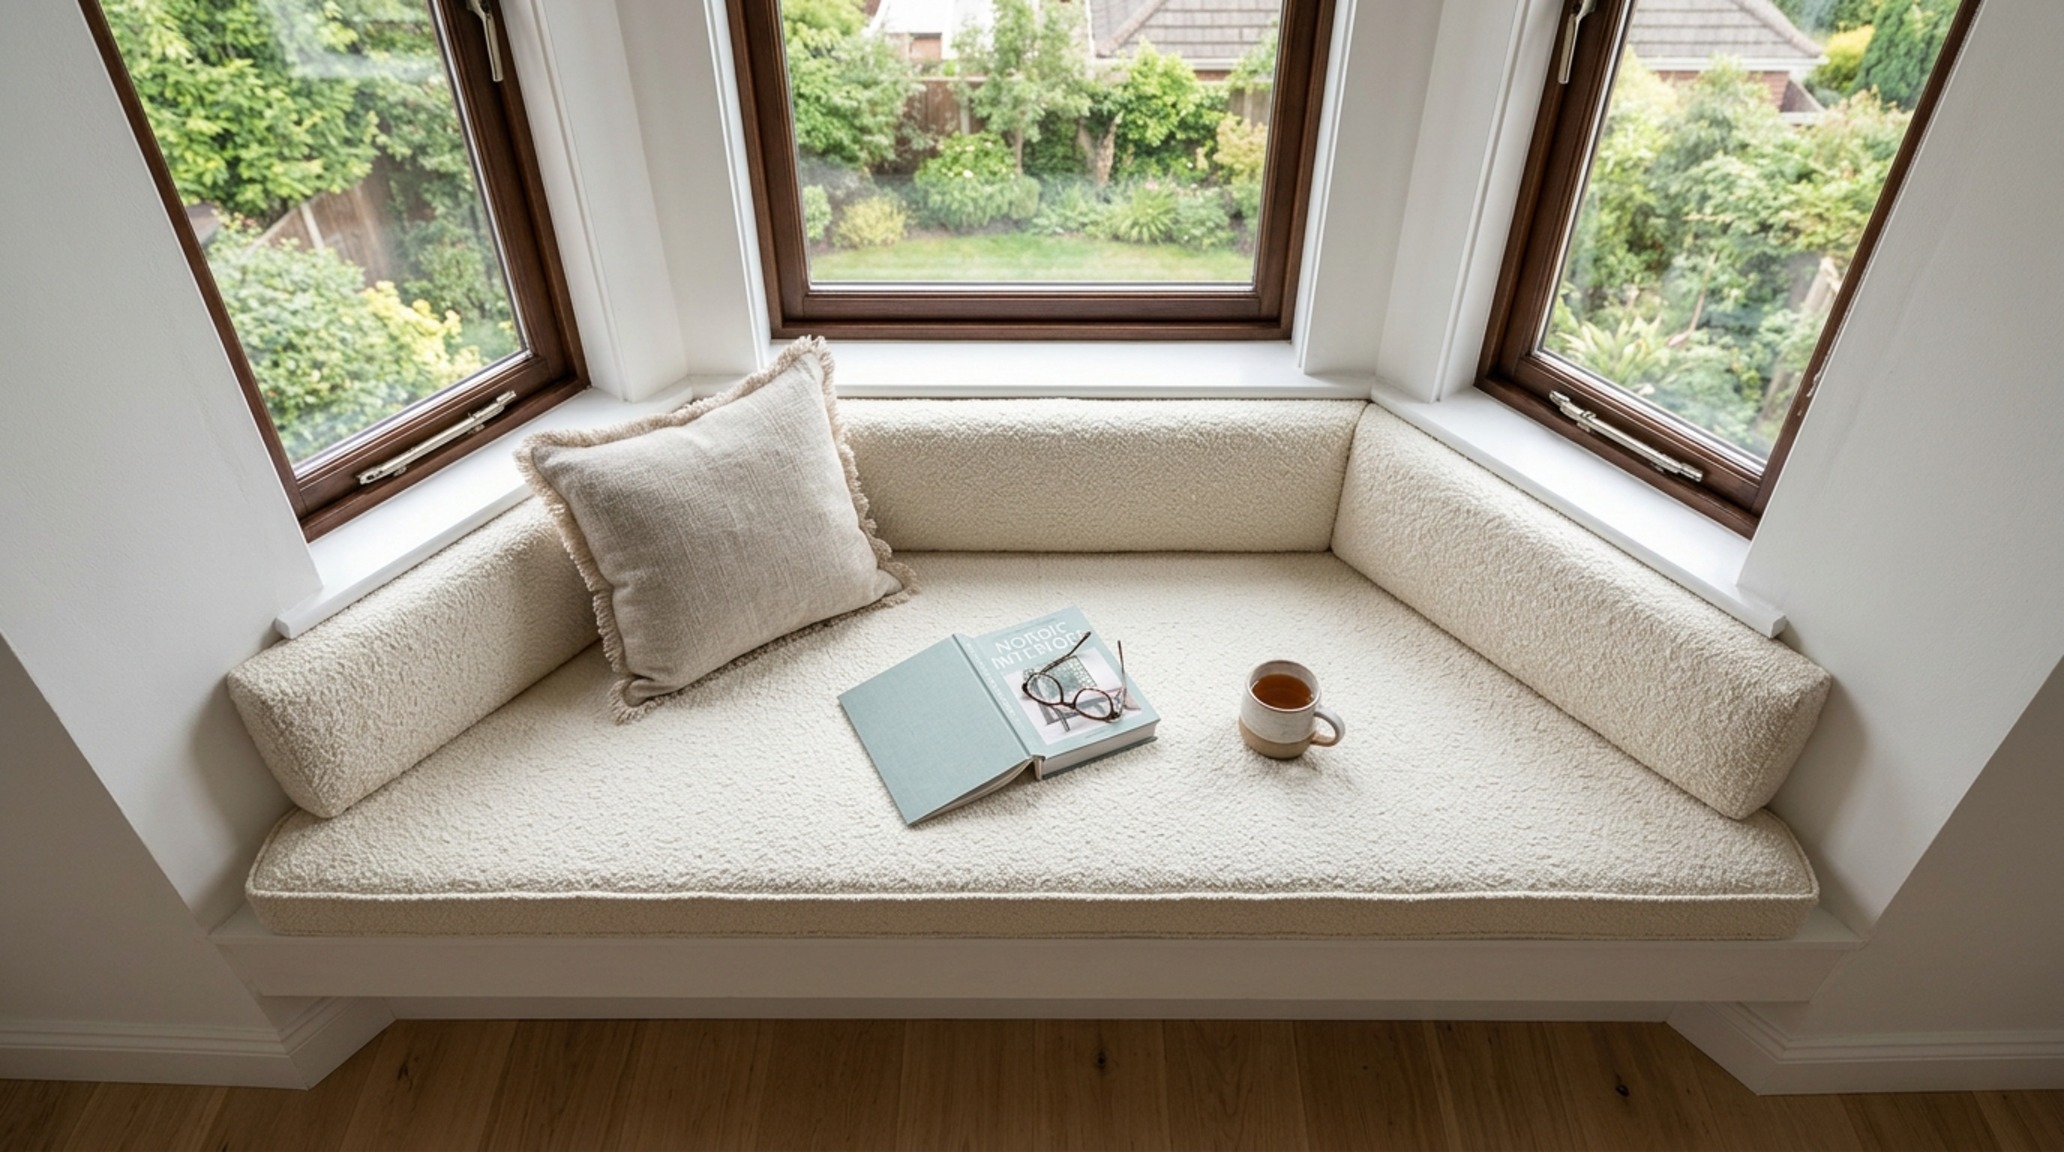
The cushion itself is the final layer of this architectural puzzle. When calculating bay window cushion dimensions, accuracy is non-negotiable. Because bay windows are rarely perfectly symmetrical, you should never rely on your original blueprints for the cushion. Instead, create a ‘template’ using butcher paper or thin cardboard once the seat is fully built. Trace the exact perimeter of the seat, including the mitered corners. For the foam, specify a high-density 3-inch core wrapped in a 1-inch dacron ‘crown’ to give the cushion a plush, high-end loft that doesn’t go flat after a month of use.
Bay Window Cushion Dimensions: The Art of the Upholstered Finish
Beyond the foam, the fabric choice is where your personality shines. For 2024, we are seeing a shift toward high-texture performance fabrics—think chunky bouclés or heavy-weight linens treated for stain resistance. These materials provide the ‘tactile grounding’ necessary for a high-traffic area. Ensure your upholstery features ‘piping’ or ‘welting’ along the edges; this small detail provides a structured, professional finish that mimics the sharp lines of the wooden framing beneath.
The depth of the seat is equally critical. For a comfortable reading nook interior design, aim for a seat depth of at least 20 inches, though 24 inches is the gold standard for curling up with a book. If your bay window is shallow, you can extend the framing out into the room by a few inches, creating a ‘bump-out’ that adds presence to the feature without disrupting the 36-inch primary circulation paths required for a functional living room layout.
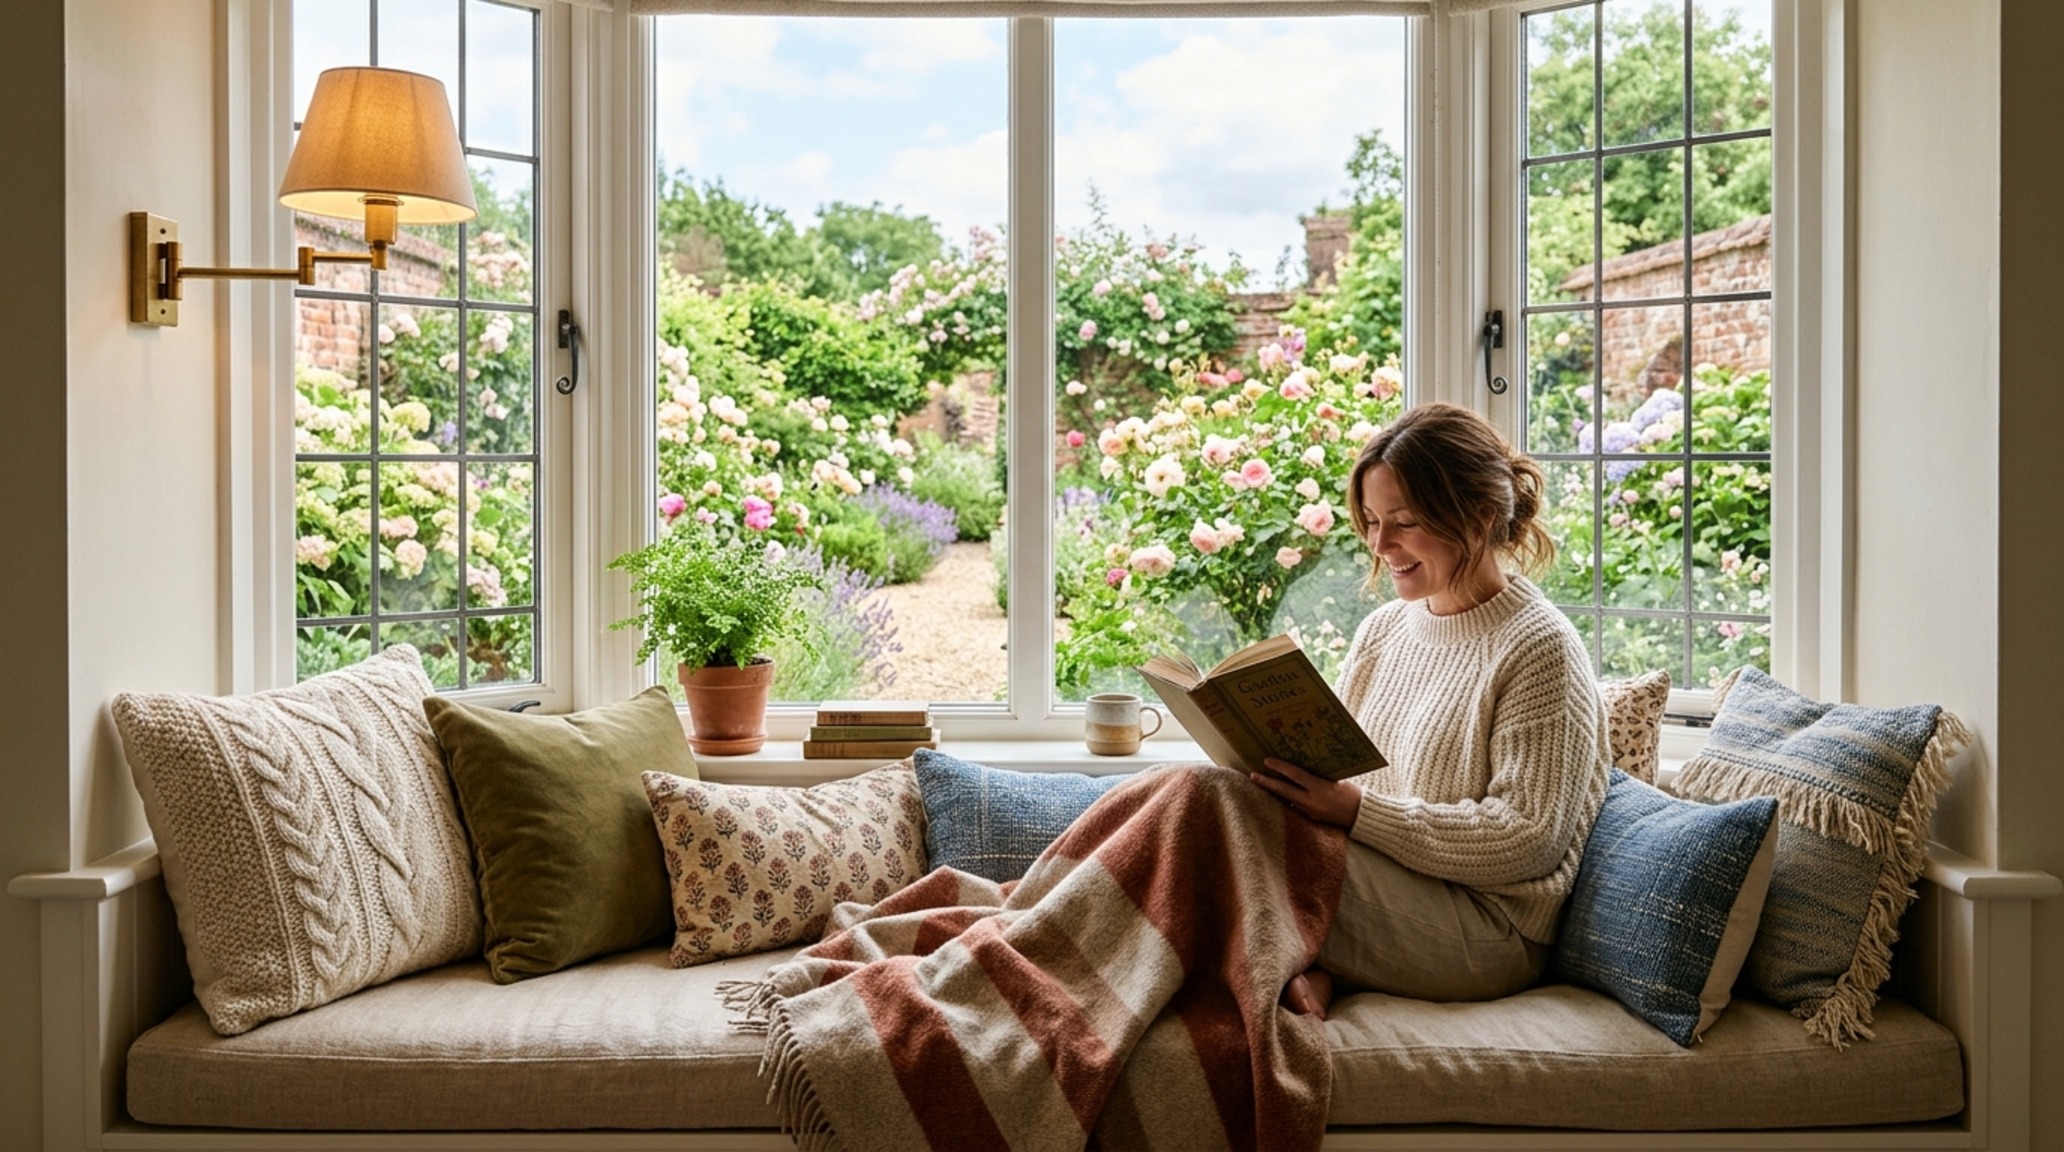
Design Anatomy & Specification Guide
Comprehensive architectural blueprint detailing finishes, paint hex codes, and structural balance.
Building a bay window seat is an exercise in intentionality. It is the bridge between the rigorous world of structural framing and the soft, sensory world of interior styling. By focusing on the precision of the 135-degree joints, the stability of the 2×4 substructure, and the functional beauty of integrated storage, you create more than a place to sit—you create an architectural legacy within your home. As you begin your project, keep this mini shopping list of high-end materials in mind:
- Structural: Kiln-dried 2x4s for the frame, 3/4-inch birch plywood for the carcass, and 3-inch LedgerLock screws.
- Finishing: Solid white oak edge banding, high-density upholstery foam, and performance linen fabric.
- Hardware: Heavy-duty full-extension drawer slides ( Blum or Accuride) and unlacquered brass pulls.
- Aesthetic: Benjamin Moore primer and Scuff-X paint for a durable, designer-grade finish.
The result is a space that breathes with the rhythm of your home, a quiet alcove where the light hits just right, and every structural detail feels as though it has always been there, waiting for the perfect afternoon to begin.
Editorial Silo • Recommended Architecture Studies
- The Structural Strategist: How To Become Interior Decorator & How to Become an Interior Decorator by Mastering Spatial Architecture — Archival Design Case Study
- The Structural Secret: Make Bay Window Seat Cushion & Engineering a High-Density Seating Oasis with Integrated Functional Flow — Archival Design Case Study
The Visual Architecture Journal
High-resolution photography exploring proportions, organic textures, and spatial harmony.

Curated Visual Lookbook
A visual curation of architectural arrangements, lighting concepts, and material palettes featured in this space.
Design Gallery & Spatial Studies